Technique & Hands
Piano Finger Exercises and Warm-Ups for Beginners
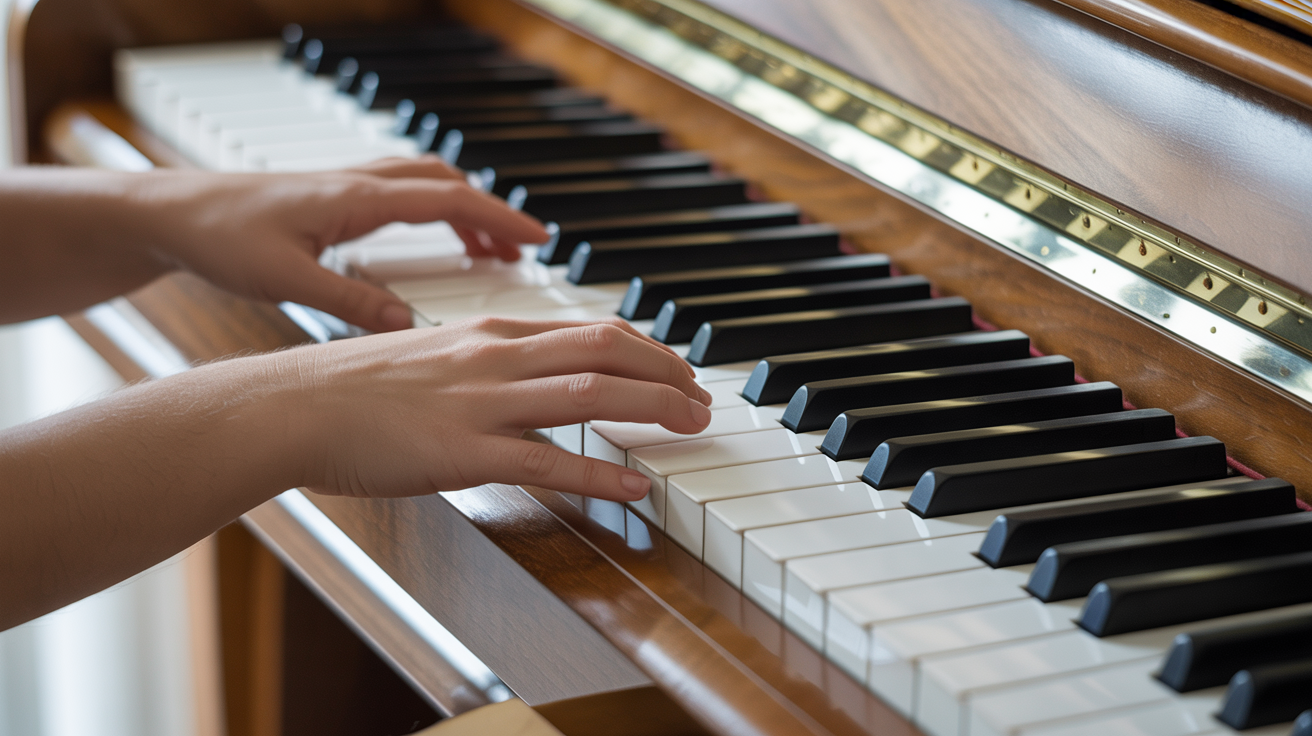
Simple piano finger exercises and warm-ups that build strength, independence, and coordination from day one, no prior technique needed.
Before you play a single note in a practice session, spending three to five minutes on finger warm-ups makes everything that follows feel easier. Your tendons and muscles need a moment to wake up, and structured exercises give them that chance while also training the coordination and control you need for real music.
This guide covers the most useful piano finger exercises for beginners, explains why each one works, and gives you a routine you can start today.
Why Warm-Ups Matter Before You Play
Cold muscles and tendons are stiffer than warmed-up ones. Playing demanding passages without warming up does not cause instant injury for most people, but it does make your fingers feel sluggish and can contribute to strain over time.
Beyond injury prevention, warm-ups serve a second purpose: they reset your hands. If you have been typing, driving, or carrying groceries, your hands arrive at the piano with tension in them. A few minutes of slow, deliberate exercises clears that tension before it sneaks into your playing.
The rule that applies to all the exercises below: stop and rest if you feel sharp pain, burning, or tingling. Mild muscle fatigue is normal. Pain is not.
Start With a Physical Warm-Up Away From the Keys
This part takes under two minutes and is worth doing every time.
Shake your hands loosely from the wrists for about ten seconds, as if you are trying to shake water off your fingers.
Rotate your wrists slowly in circles, five rotations each direction per hand.
Gently spread your fingers wide, hold for three seconds, then relax. Repeat three times.
Curl your fingers loosely into a soft fist, hold for two seconds, then open. Repeat three times.
This is not elaborate stretching; it is simply giving your wrists and fingers a moment of circulation before they start doing precise work.
Five-Finger Exercises: The Core Beginner Routine
Five finger exercises piano players have used for centuries for good reason. They cover every finger without requiring you to shift hand position, which makes them ideal when you are just getting started.
The Basic Five-Note Pattern
Place your right hand on C-D-E-F-G (fingers 1 through 5). Play each note once, in order, slowly and evenly. Then come back down: G-F-E-D-C.
That is one pass. Repeat it four or five times before switching to the left hand on the same notes.
The goal is not speed. You are listening for two things: every note should be the same volume, and every note should last the same amount of time. Both of those require more focus than most beginners expect.
When you can play the pattern evenly at a slow tempo, try it starting on D, then E, moving the whole hand up one white key at a time. This trains your ear to hear the same pattern in different positions, which pays off when you start learning scales.
Playing Hands Together
Once each hand can manage the five-note pattern separately, try playing both hands at the same time on the same notes. Your brain has to send coordinated signals to both hands, and most beginners find this surprisingly tricky for the first few sessions.
Start slower than feels necessary. The point is not to rush through; it is to build the neural pathway that lets both hands move without one fighting the other.
Finger Independence Exercises
Finger independence is the ability to move one finger while keeping the others relaxed and relatively still. This is one of the harder skills to develop and one of the most important.
Knowing your piano finger numbers and correct fingering matters here. Consistent fingering choices are what make independence drills useful rather than random.
The Held-Note Exercise
Place your right hand on C-D-E-F-G. Press and hold C with finger 1. While holding it, play D with finger 2, release, play E with finger 3, release, then F with finger 4, and finally G with finger 5.
The held note forces you to keep one finger down while the others work independently. It is uncomfortable at first because the fingers have a tendency to lift together.
Switch roles: hold G with finger 5 and play the other notes one at a time. Then hold other notes in turn.
Do this with the left hand too. You may find one hand easier than the other; that is completely normal and corrects itself with practice.
The Lift Drill
Curl all five fingers gently over the keys without pressing. Lift just finger 2 as high as it comfortably goes, then lower it. Lift finger 3, lower it. Continue through all five fingers, then reverse order.
This is not playing; it is pure mechanical training. It helps the tendons learn to operate each finger as a somewhat separate unit rather than as a group.
A Simple Beginner Warm-Up Sequence
Here is a five-minute routine you can run at the start of every session:
| Step | Exercise | Time |
|---|---|---|
| 1 | Hand shakes, wrist rotations, finger spreads | 1 min |
| 2 | Right hand five-note pattern, slow | 45 sec |
| 3 | Left hand five-note pattern, slow | 45 sec |
| 4 | Both hands five-note pattern together | 1 min |
| 5 | Held-note exercise, right hand | 45 sec |
| 6 | Held-note exercise, left hand | 45 sec |
Five minutes. After that your hands are ready for whatever you are actually working on that day.
As your playing develops, you can extend this by adding the C major scale. Learning how to play the C major scale with the right fingering adds the thumb tuck under the hand, which is a coordination step beyond the basic five-finger exercises.
Common Mistakes to Avoid
Playing too fast too soon. Slow practice is not a beginner shortcut; it is how the muscles learn the right movement patterns. Speed comes naturally once the pattern is solid.
Tensing the shoulder or forearm. Many beginners focus on the fingers and forget everything above the wrist. Let your shoulder drop, keep your forearm relaxed, and let the weight of your arm do some of the work pressing the keys.
Skipping the left hand. Most beginners prefer their right hand and unknowingly neglect the left. Give each hand equal time in every session, especially early on.
Pressing too hard. A piano key only requires enough pressure to produce sound. Pressing past that point trains unnecessary tension into your hand and wastes energy.
Practicing through discomfort. If your hand feels tired, rest it. Short, regular sessions build strength faster than long ones that push into fatigue.
Frequently Asked Questions
How long should I warm up before practicing piano? Three to five minutes is enough for most beginners. The physical warm-up takes about a minute; the five-finger and independence exercises take another three or four. You do not need a long warm-up period; you need a consistent one.
Are finger exercises enough to build piano technique? Exercises build the raw material: evenness, independence, and coordination. Technique also requires applying those qualities to actual music, so exercises work best as preparation for playing pieces, not as a replacement for them.
How often should I practice finger exercises? At the start of every practice session. If you practice five days a week, you do the warm-up five days a week. It becomes a habit quickly.
My fourth finger feels much weaker than the others. Is that normal? Yes. Finger 4 (the ring finger) shares tendons with finger 3 and 5, which limits its independent movement. It is the weakest finger for almost everyone, including experienced players. It improves with consistent work but rarely reaches the same natural strength as fingers 1, 2, and 3.
Can I do these exercises on a keyboard without weighted keys? Yes. The exercises train coordination and independence regardless of key action. Weighted keys give you feedback that is closer to an acoustic piano, but the exercises themselves transfer to any keyboard.